


How to Convert a Shed into a Home Office
May 1, 2026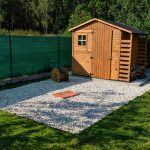
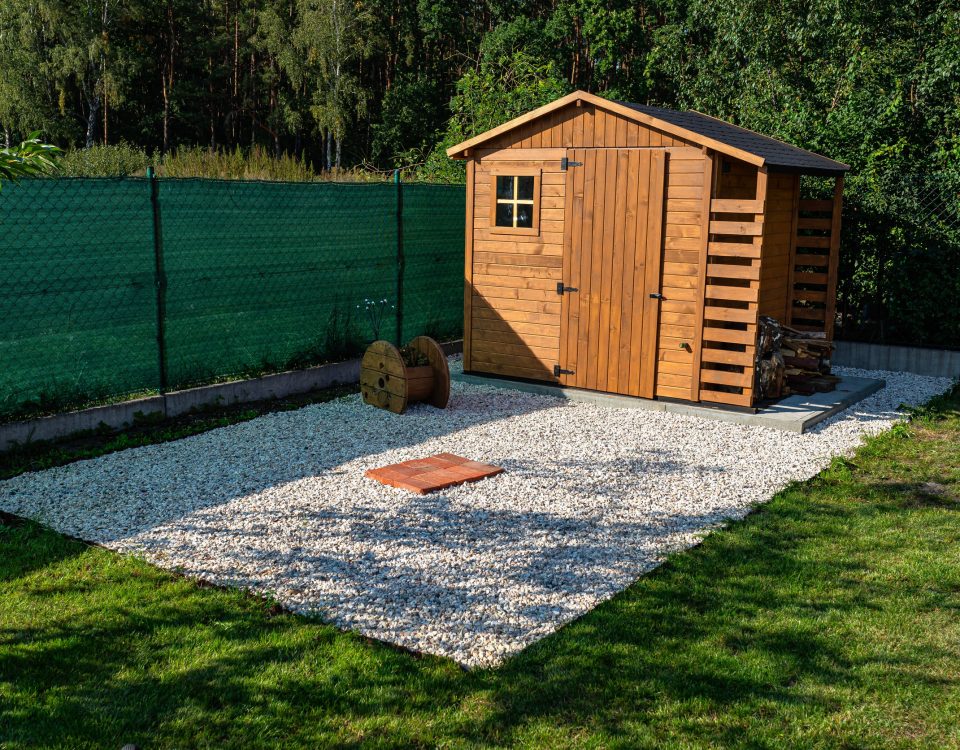
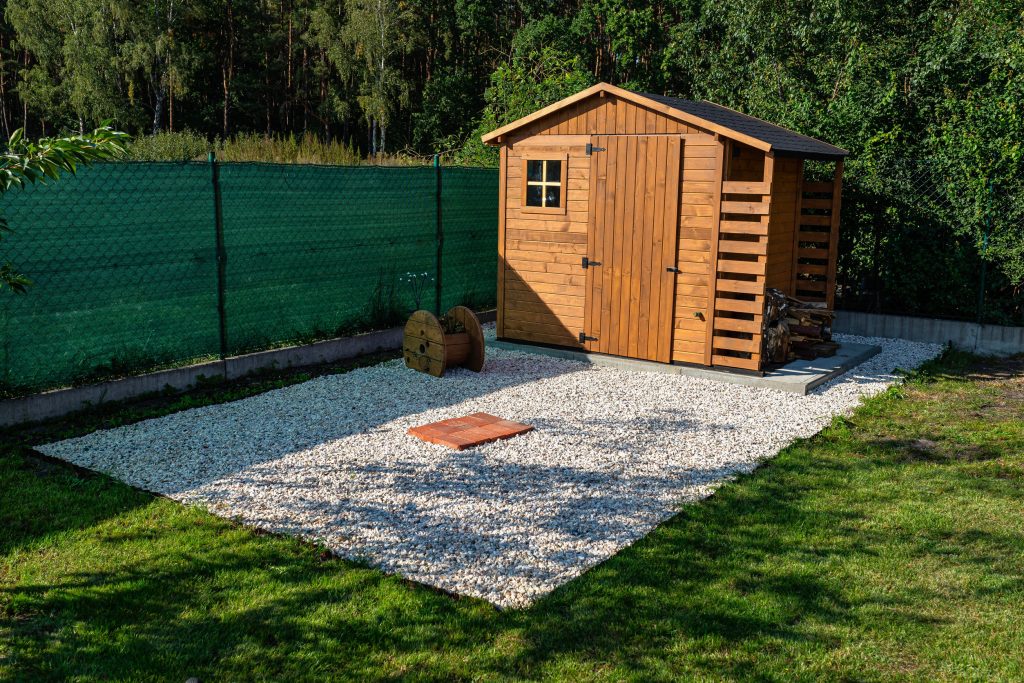
Do You Need a Concrete Slab for a Shed? Foundation Options for Sheds, Portable Garages, & More in Indiana
July 1, 2026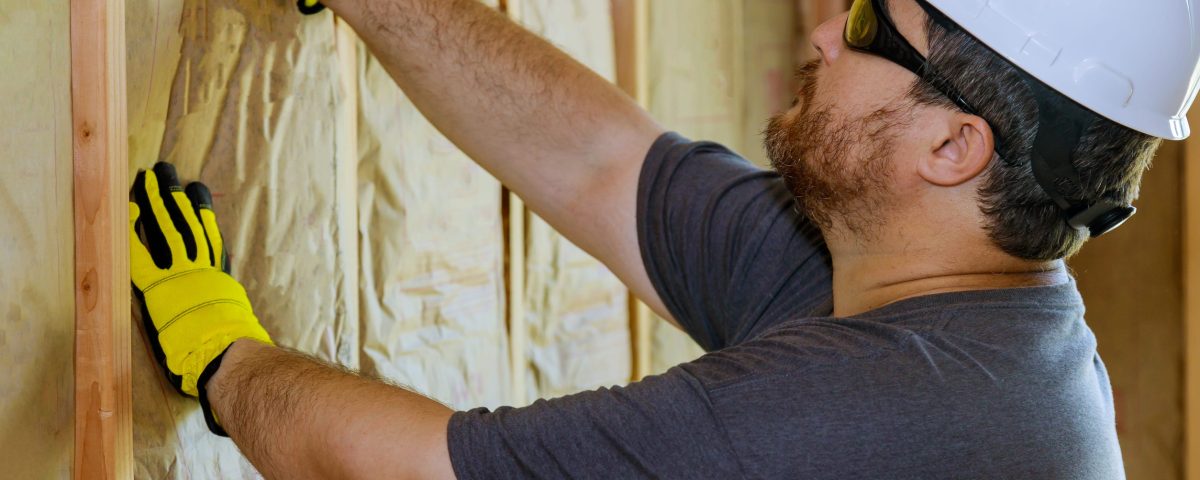
Most storage sheds do their job fine in mild weather. But once temperatures swing to extremes—freezing winds in January, sweltering heat in July—an uninsulated shed becomes a liability. Tools rust, paint freezes, and anything sensitive to temperature or moisture is at risk.
Learning how to insulate a storage shed is one of the most practical and effective upgrades you can make to your property. Done right, it protects your belongings year-round, extends the life of your structure, and opens the door to using the space in ways you may never have considered.
Why insulate a shed?
A shed is often treated as simple storage, but without insulation, it’s at the mercy of the elements. Insulating your storage shed protects your belongings, improves comfort, and makes the space more useful in every season.
Temperature Control
One of the most well-known reasons to insulate your shed is temperature control. Without insulation, the interior temperature of a shed matches the weather—which means freezing cold in winter and suffocating heat in summer. Insulation slows the transfer of heat through the walls and ceiling, keeping things warmer when it's cold outside and cooler when it's hot.
Moisture Protection
When warm air meets a cold surface, moisture forms. In an uninsulated shed, that moisture accumulates on walls, floors, and the undersides of your stored items, creating the perfect conditions for rust, rot, mold, and mildew.
Insulation acts as a buffer that reduces these temperature differentials, and when paired with a proper vapor barrier, it creates a continuous shield against moisture intrusion. This is especially important in climates with significant seasonal swings or high humidity.
Expanded Possibilities
An insulated shed is no longer just a shed. Once you control the temperature and moisture, the space becomes genuinely livable. People convert insulated sheds into home offices, creative studios, she-sheds, personal gyms, hobby rooms, and comfortable retreats. The insulation investment can pay for itself quickly when it replaces the cost of renting a studio or coworking space.
What is the best way to insulate a shed?
There is no single correct answer. The best insulation depends on your budget, your shed's construction, how much moisture you need to manage, and whether you want to DIY or hire it out. Let’s take a look at the three most common options.
Spray Foam Insulation for Sheds
Spray foam insulation works exactly as it sounds. It's sprayed directly into the cavities between your studs and wherever else you need coverage, then expands to fill the space completely. This makes it uniquely effective at reaching and sealing irregular gaps, corners, and areas around pipes or wiring that batts or boards simply cannot conform to.
While this is one of the most effective methods for thermal protection, it’s also one of the most costly. Spray foam is significantly more expensive than the other options, both in materials and in the professional labor often required to apply it properly.
Fiberglass Insulation for Sheds
Fiberglass insulation is a cotton-like material made from spinning molten glass into fibers. On a budget-to-performance basis, fiberglass is hard to beat. It provides solid thermal protection and is widely available at any home improvement store.
However, it’s known to be a little weaker when it comes to protecting from moisture, meaning leaks may cause mold or mildew. For this reason, fiberglass always needs to be paired with a separate vapor barrier, especially in climates with high humidity or significant rainfall. If your shed is well-sealed and stays relatively dry, fiberglass is an excellent choice. If moisture is a recurring concern, consider upgrading to rigid foam or spray foam.
Rigid Foam Insulation for Sheds
Rigid foam insulation is boards or sheets of insulation made from compounds like polyurethane or polystyrene. Unlike fiberglass, it's firm and structural, which means it holds its shape and doesn't sag or compress over time. Many rigid foam products come with a foil or plastic facing that acts as a built-in vapor barrier, making it a more self-contained solution than fiberglass.
This affordable option is usually used for homes and typically comes with its own vapor barrier to prevent moisture from causing issues. However, installing rigid foam insulation is more difficult than other options as you have to cut and shape each board to fit each space, which can be a little awkward when working around things like electrical outlets.
Step-by-Step Shed Insulation Guide
The general process is the same regardless of which insulation type you choose, but each material has its own nuances at every stage. Here's what to expect.
1. Measure the space between the studs.
If you’re using rigid foam or fiberglass insulation, it’s important to measure the width and height of each cavity between your wall studs before purchasing or cutting any material. Stud spacing varies, so don't assume every cavity is the same size. If you’re using spray foam insulation, this step can be skipped.
2. Install insulation in the walls.
Once you have your materials and know the measurements you’re trying to fill, it’s time to install your insulation. Each material’s insulation looks a little different:
Spray Foam: Apply in passes, allowing partial expansion between coats. Avoid overfilling as foam expands significantly after application and can bow or warp wall sheathing if over-applied. For outlets and wiring, simply spray around them; the foam conforms naturally.
Fiberglass: Press each batt firmly into the cavity. It should fill the space without being compressed, which would reduce its effectiveness. For electrical outlets, simply work the batt around the box. For wires running through the wall, split the batt and run the wire through the middle rather than pushing the insulation behind it.
Rigid Foam: Cut each board based on the measurements you took earlier, but leave a little extra width so the boards fit snugly in place. Press each cut board into place. For outlets, carefully trace and cut out the opening. For wiring, score a channel into the back of the board using a utility knife so the wire sits in a groove rather than being crushed.
Regardless of which material you use, it’s crucial to wear the proper safety equipment when installing insulation. A dust mask, gloves, and eye protection can make all the difference.
3. Add ventilation.
Whether or not your storage shed needs ventilation depends on how you plan to use the shed. If you intend to heat or cool the space, or if you're using fiberglass insulation, ventilation is essential to prevent moisture buildup and maintain air quality. If you're only insulating the ceiling and not conditioning the air, ventilation may not be required.
Vents can be added to gable ends, the soffit, or the roof ridge. If you're purchasing a new shed, look for one with vents already built in or work with a builder to have them added during construction.
4. Insulate the ceiling or roof.
Heat rises and escapes through the roof faster than anywhere else in the structure. With this in mind, insulating the ceiling or roof deck is just as important as insulating the walls. The process mirrors the wall installation, working between rafters or ceiling joists.
5. Install a vapor barrier.
A vapor barrier prevents moisture-laden air from penetrating the wall assembly and condensing inside the insulation, where it can cause long-term damage. As we’ve mentioned, whether you need to add one depends on the insulation type you chose as some come with a built-in barrier.
Fiberglass will always require an additional vapor barrier. Usually, this is thin plastic sheets overlaid on top of your wall insulation. Be sure to overlap your sheets so there are no gaps or airflow. You may want to staple these sheets to the studs and use specialized tape to seal any potential gaps.
Rigid foam and spray foam insulation often don’t require any additional vapor barriers as they have built-in foil or compounds that already do the job.
Now that you know how to insulate a storage shed, the only thing left is to decide how you want to use yours. Whether your goal is to protect a season's worth of stored tools, carve out a quiet home office, or build the backyard retreat you've been planning for years, the right insulation makes it all possible—and makes it comfortable enough that you'll actually want to be there, no matter what month it is.
Little Fawn is a local full-service lumber yard and distributor of building materials, roofing materials, storage sheds, hardware, ammo, and more.
As people that grew up in the construction industry, we understand that when you need something for a project—you need it now and can’t wait weeks for delivery! That’s why our main goal is to help you easily find what you need, get helpful advice, and receive quick delivery.
Contact us today to get what you'll need for your next building project. Don’t forget to check us out on Facebook and Twitter!